Kayak 1 Construction Slideshow
Backbone on stand
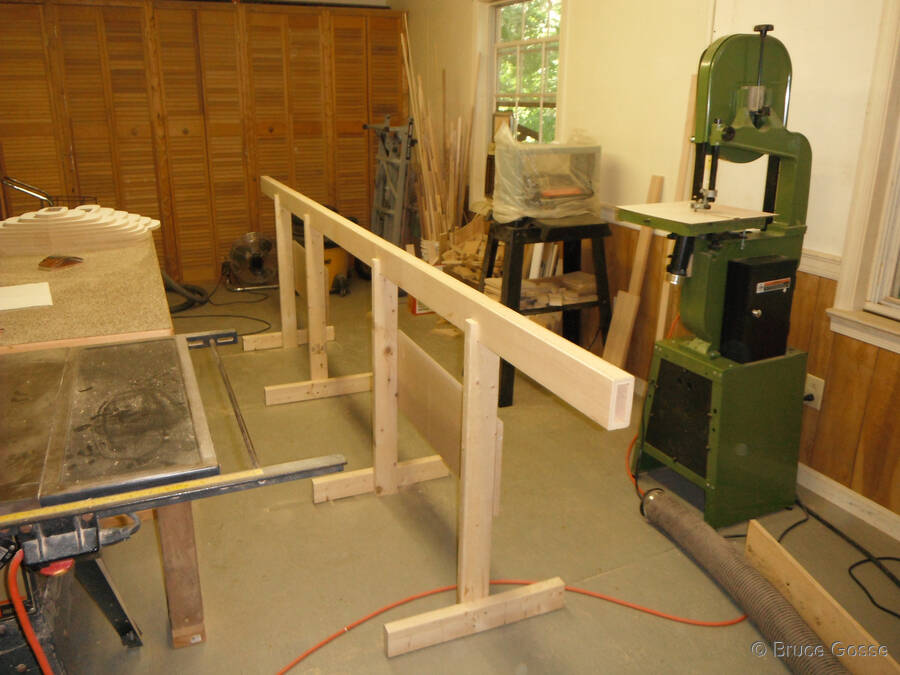
Backbone for frames mounted on stand.
Installing frames on backbone
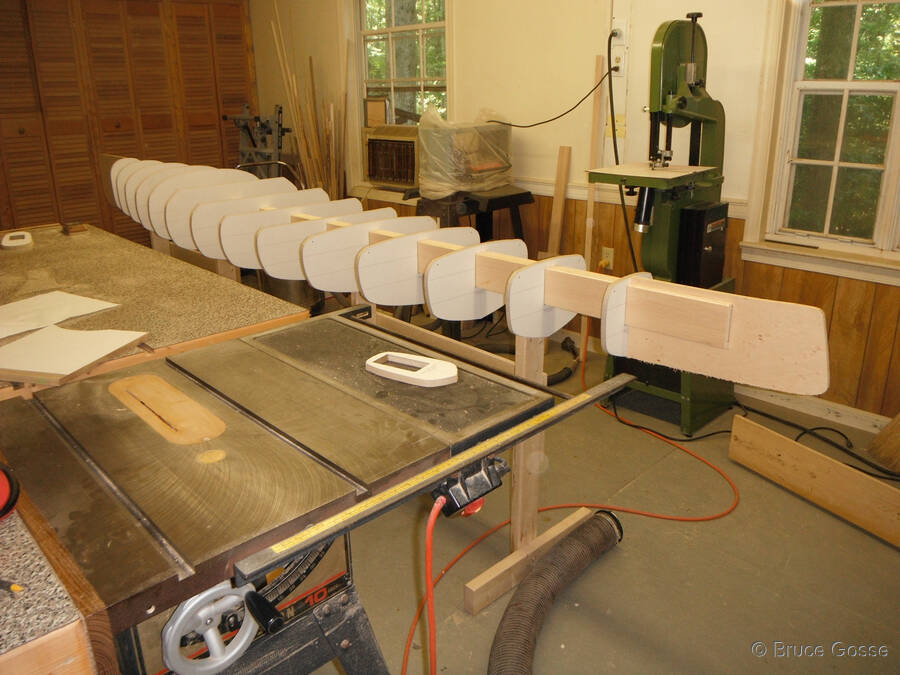
Installing frames on backbone.
First strip
First strip clamped onto frames and hot glued to frames.
Three strips installed
Three strips installed. You can see the interior stem being used for this construction. After hull complete an external stem will be added.
Locust strip at waterline

Thin Locust strip at waterline for accent.
Strips added above waterline
Strips added above waterline. Popular was too stiff to bend on the compound curve so strips were ripped in half to make more flexible.
Keel strips installed
Keel strips installed.
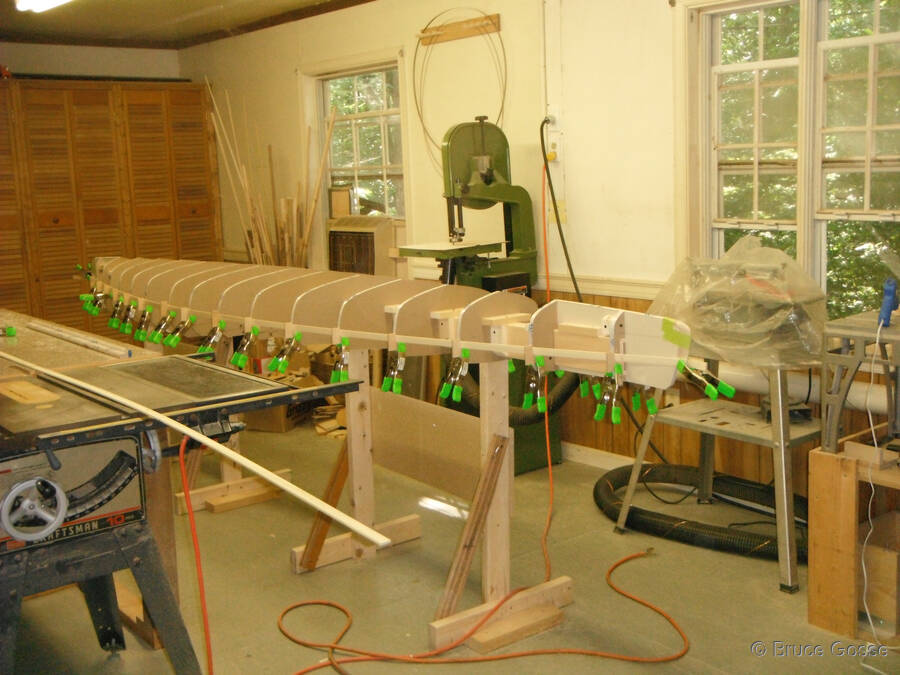
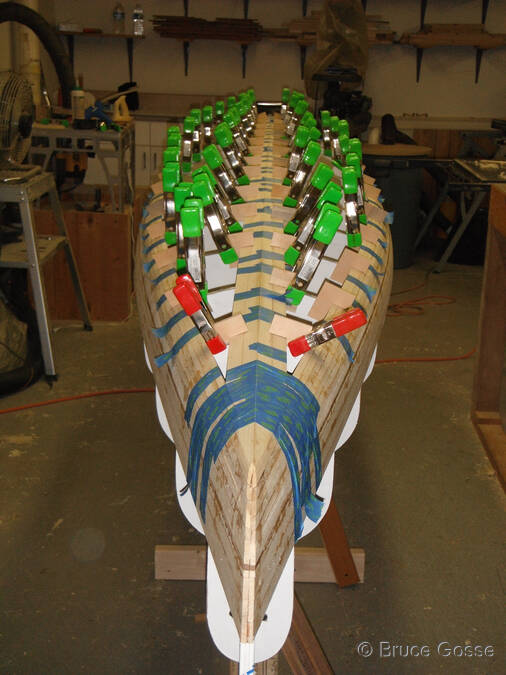
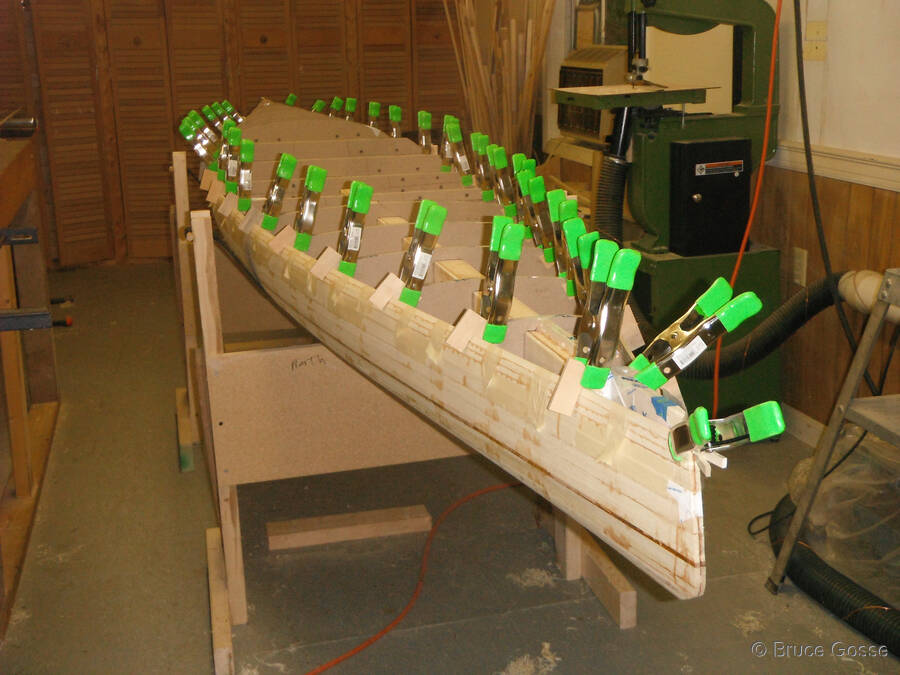
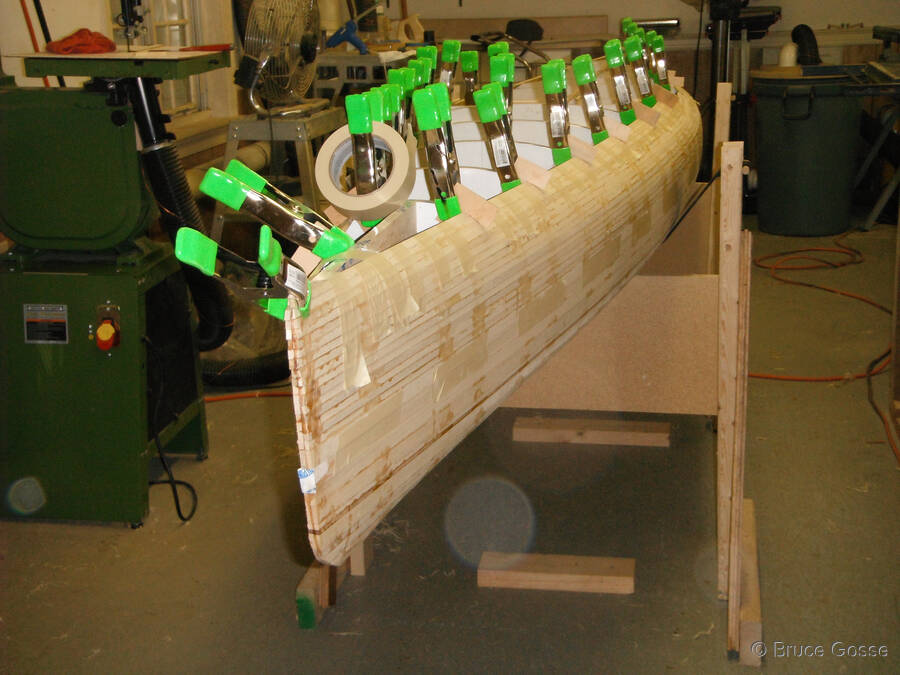
Clamps viewed from bow quarter
Clamps viewed from bow quarter. I made plywood 'L' shapes to hold strip down and clamp to frames while glue dries. No staples were used in construction with each strip clamped and taped in place until glue dried.
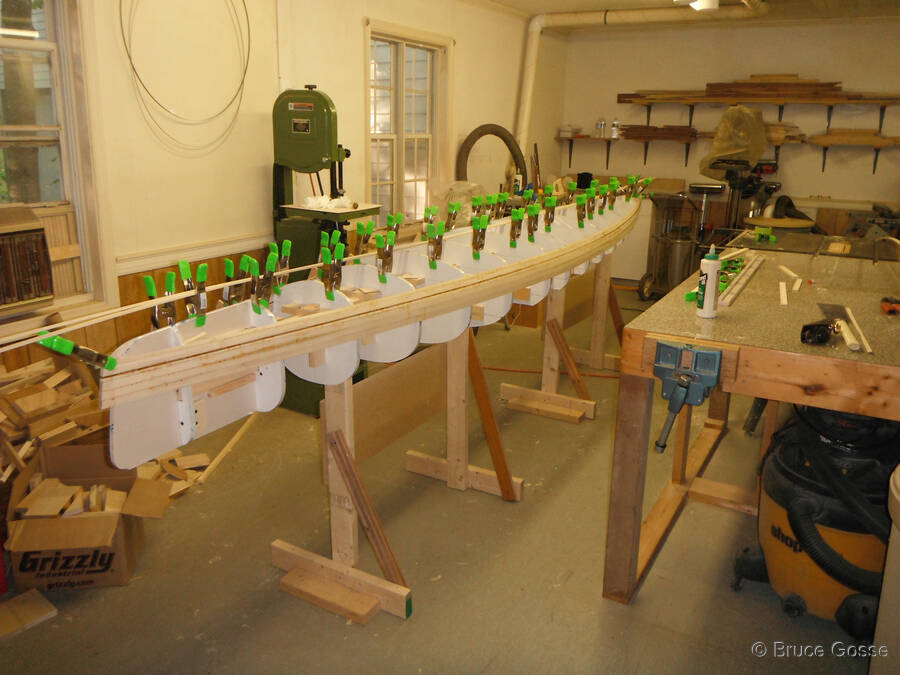
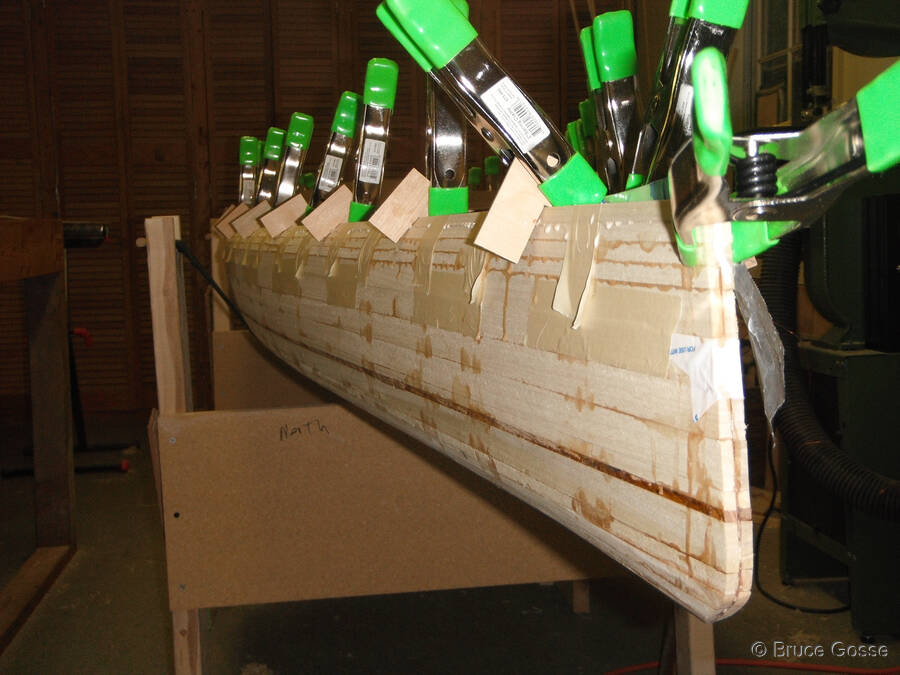
Clamps viewed looking down keel
Clamps viewed looking down keel. Have a lot of clamps using stapleless construction. I found a sale on clamps which was a good thing. It is possible to fit and clamp four strips after the keel is installed before waiting for glue to be dry.
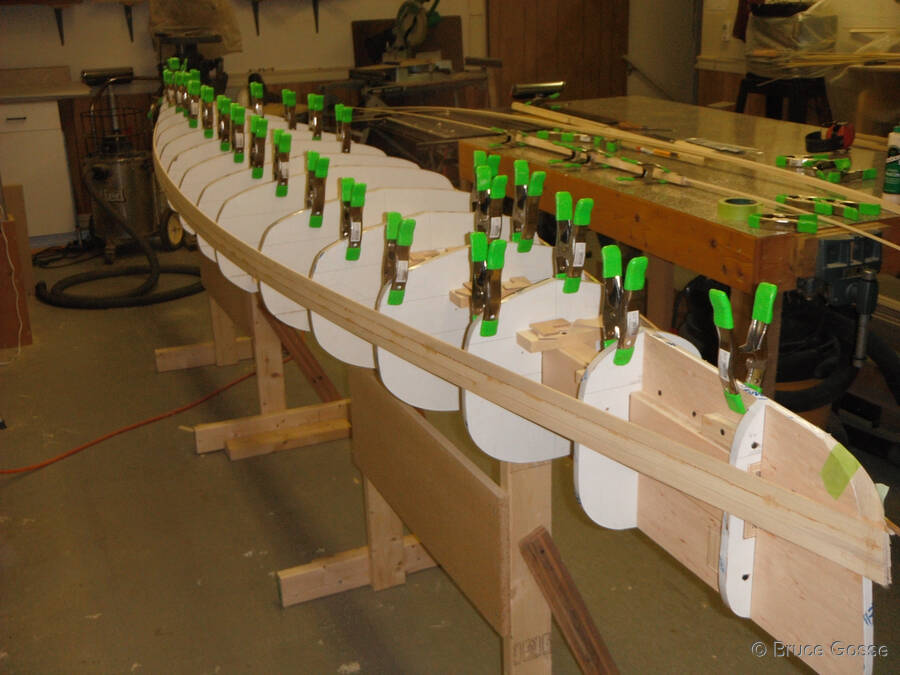
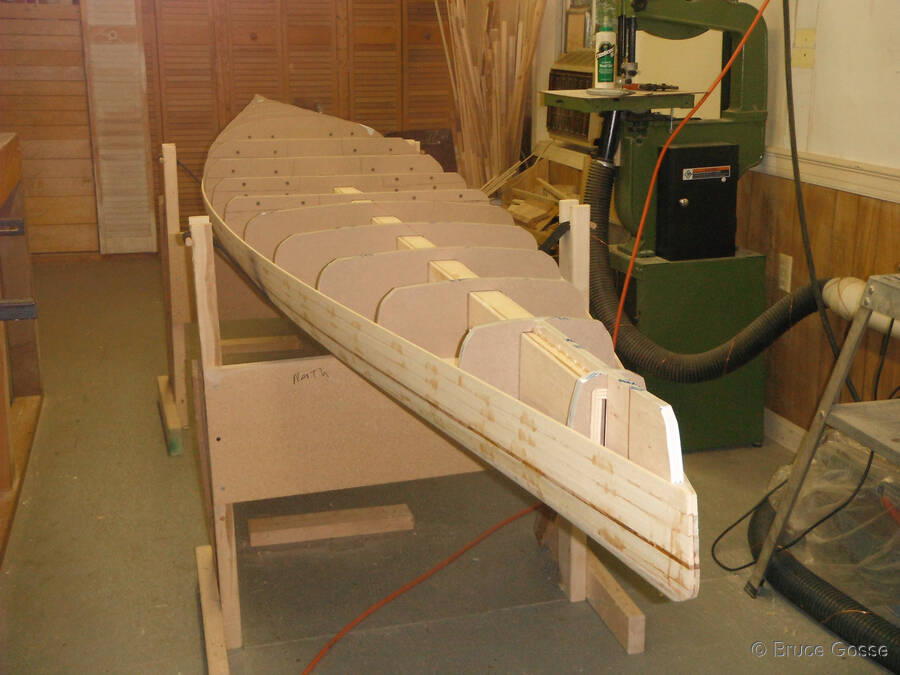
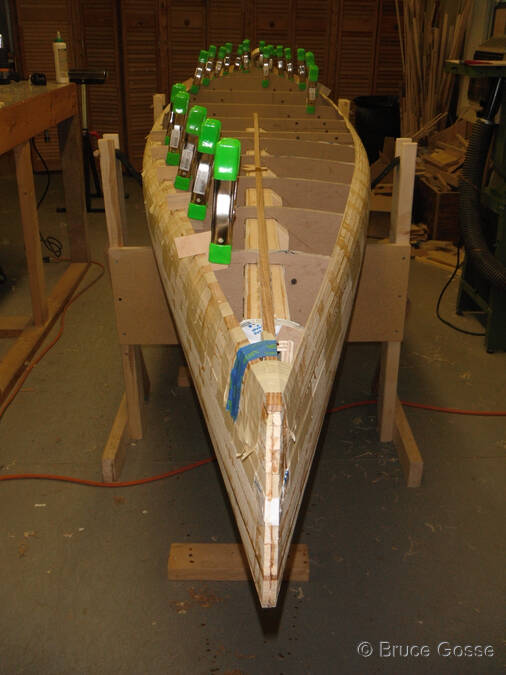
Progress viewed from stern
Progress viewed from stern.
Progress viewed from bow
Progress viewed from bow.
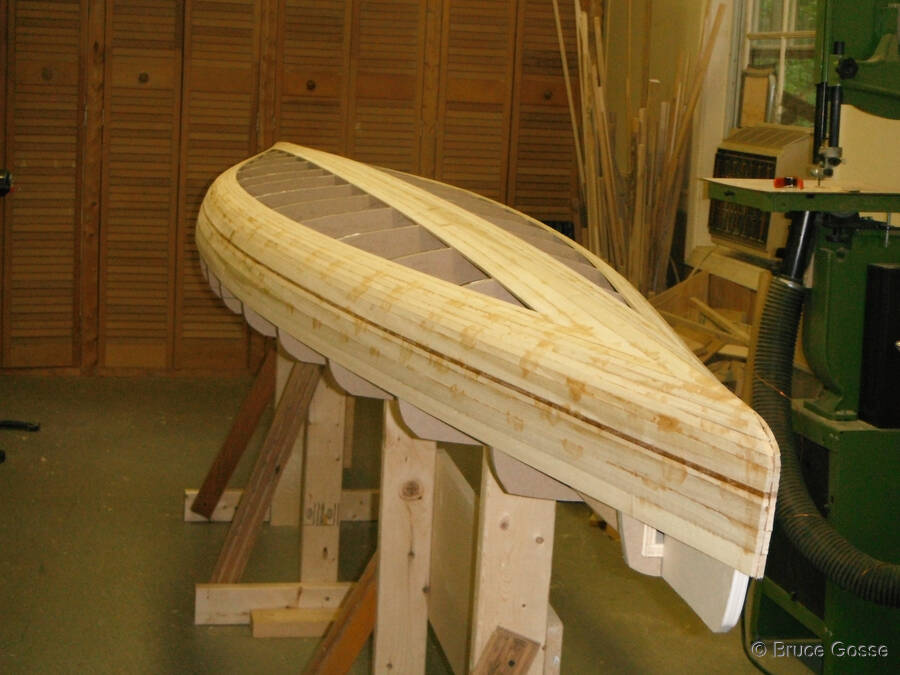
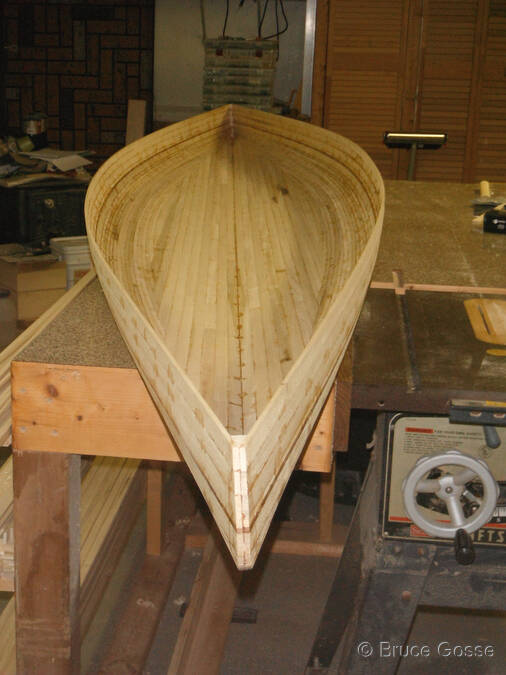
Hull bottom nearly completed
Hull bottom nearly completed. The final piece was tedious to fit, it took several tries for each side to get it correct.
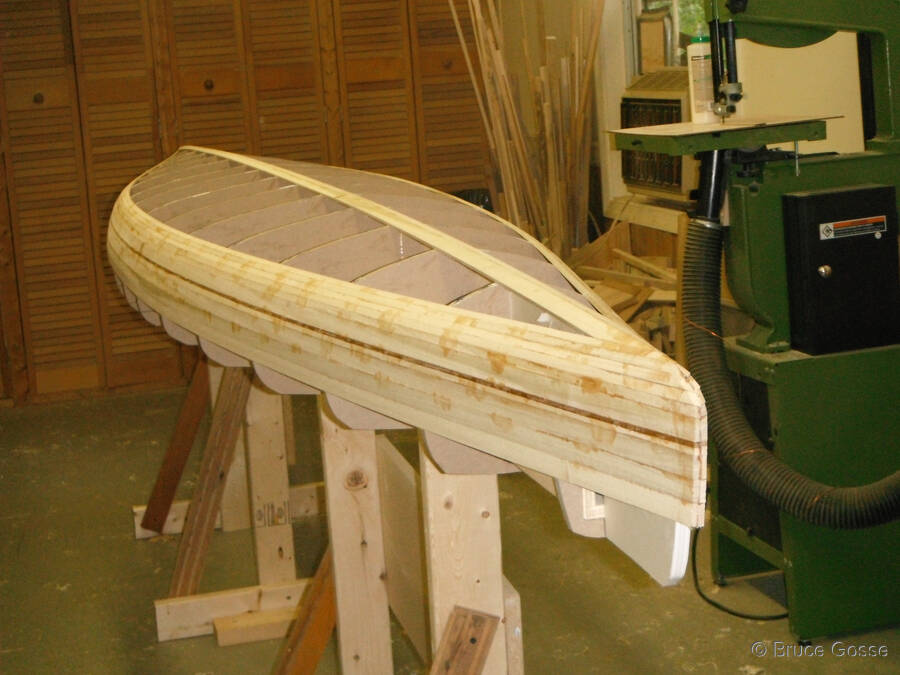
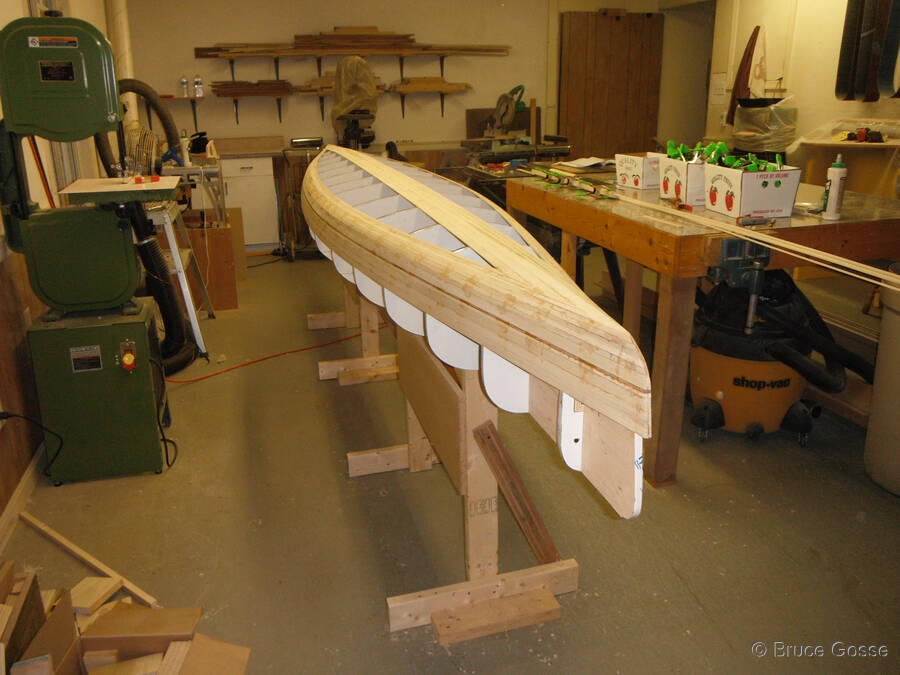
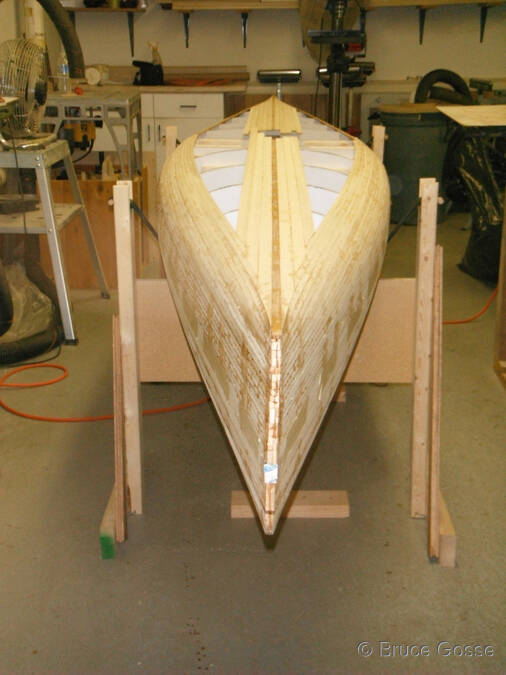
Hull bottom complete
Hull bottom complete.
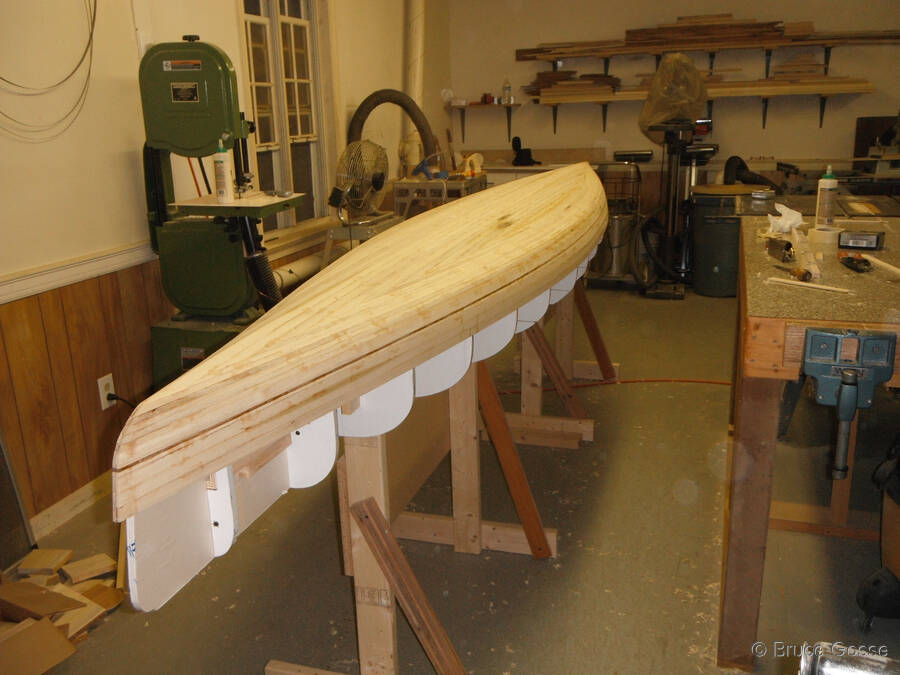
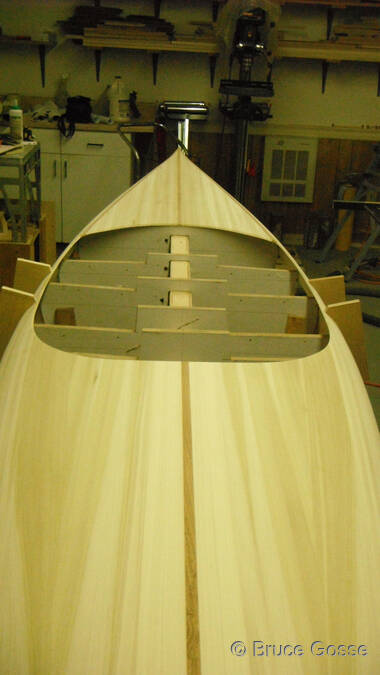
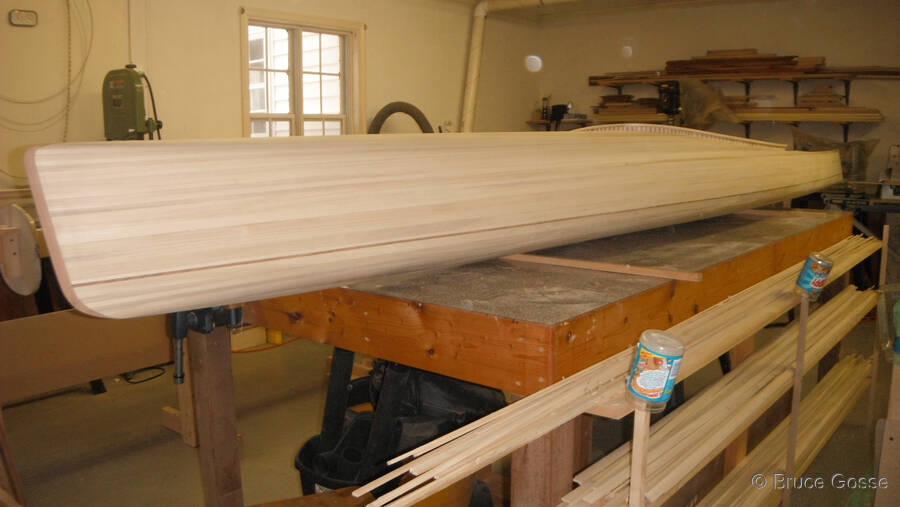
Bottom of hull off jig
Bottom of hull off the jig after popping the hot glue on the first strip. Now to clean inside glue and install the jig and build the deck.
Bottom right side up with Jig installed
Bottom right side up with Jig installed. Stands turned 90 degrees with straps installed for hull to sit on while doing deck. I found cotton webbing to prevent any damage to hull. Stitched loops in webbing and ran a piece of dowel through the loop to hold strap in the slot the backbone rested in.
First deck strips installed
First deck strips installed. First strip is not glued to hull bottom, just hot glue to frames to hold in place so that the hull can be separated allowing removal of jig and finishing of inside.
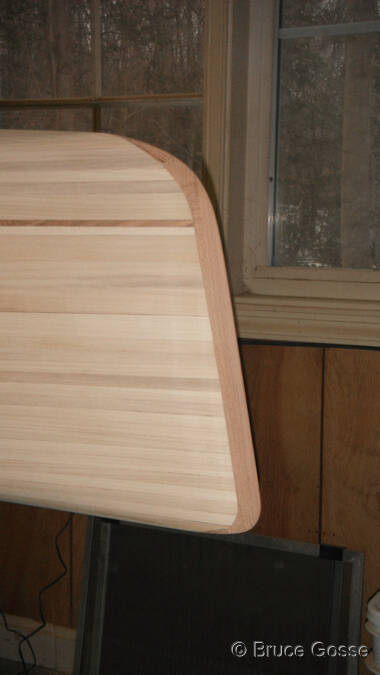
Closeup shot
Closeup shot of stern.
From bow showing strips to deck
From bow showing strips to deck.
stern deck sheer and center strips
Attaching Locust stern deck sheer and center strips.
Installing Aft Deck with fore and aft planks

Installing Aft Deck with fore and aft planks.
Deck progressing, viewed from bow
Deck progressing, viewed from bow.
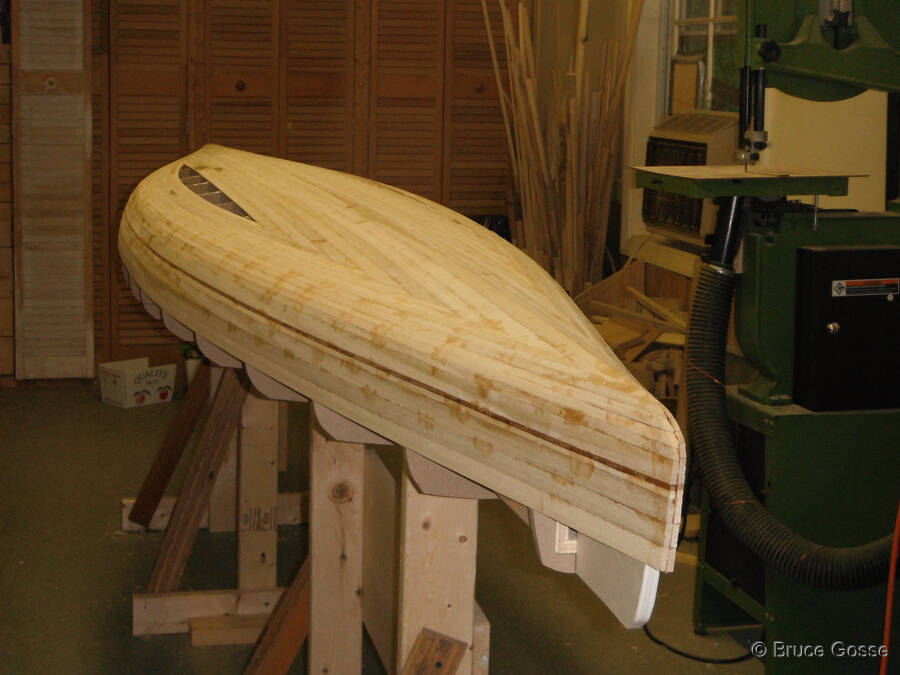
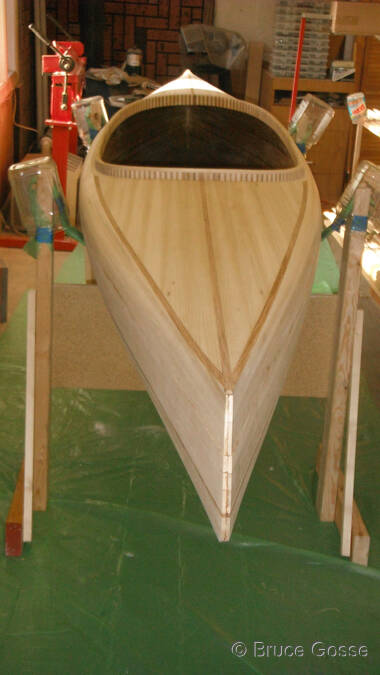
Deck with cockpit cutout completed
Deck with cockpit cutout completed.
Flat cockpit decking complete and coaming started
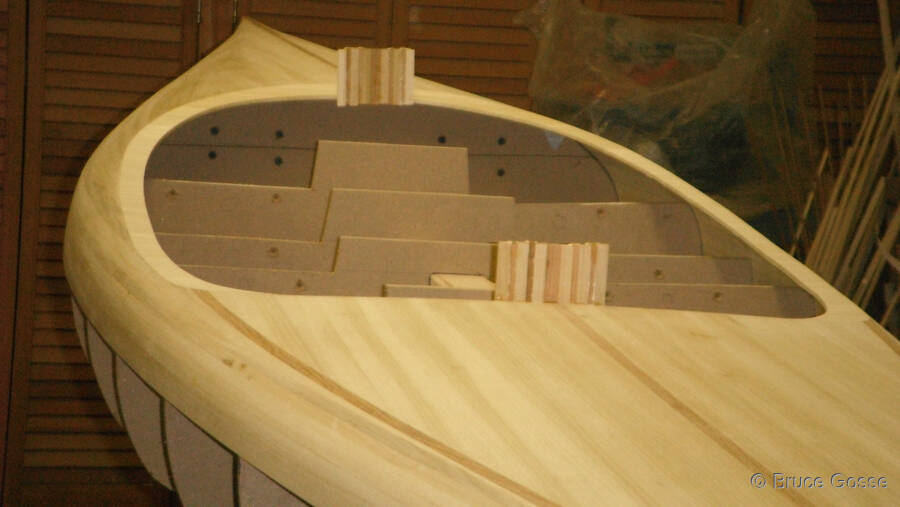
Flat cockpit decking complete and coaming started.
Coaming proceeding
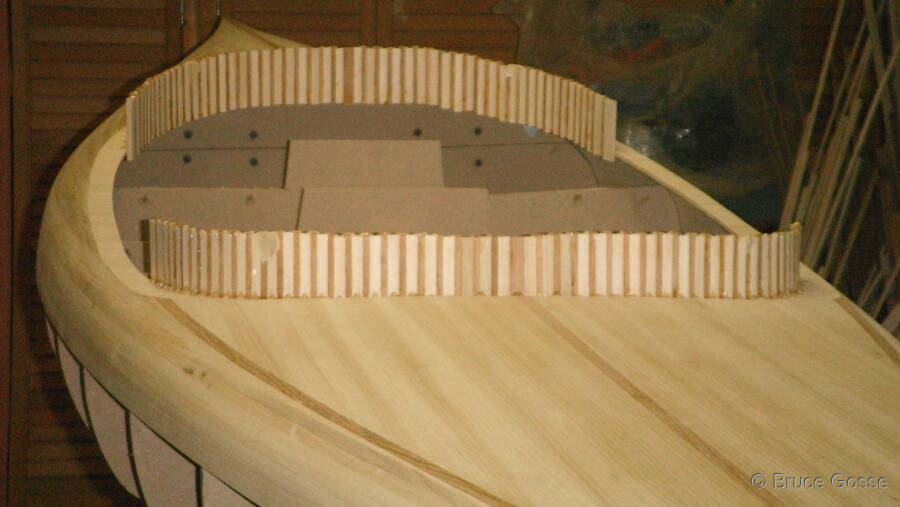
Coaming proceeding.
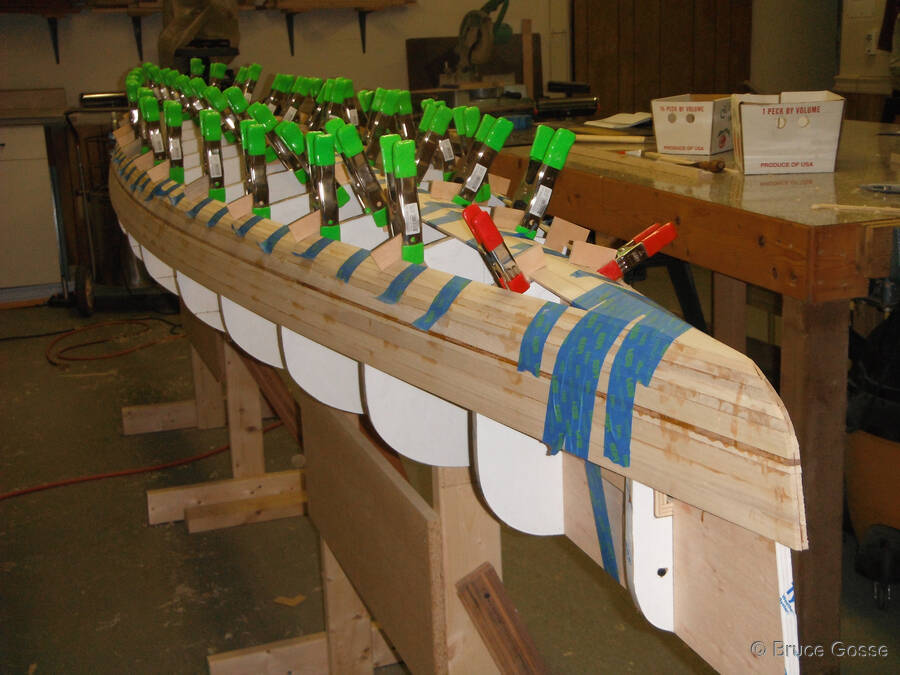
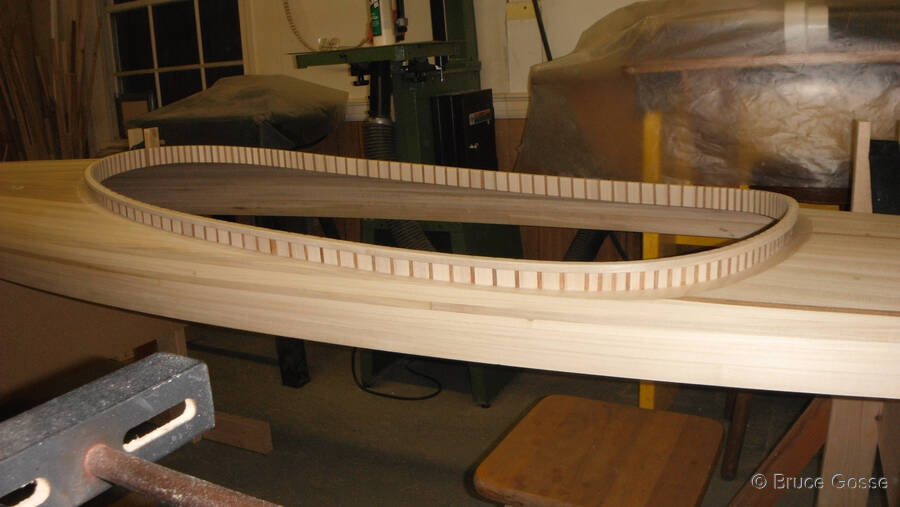
Outer band on coaming glued and clamped
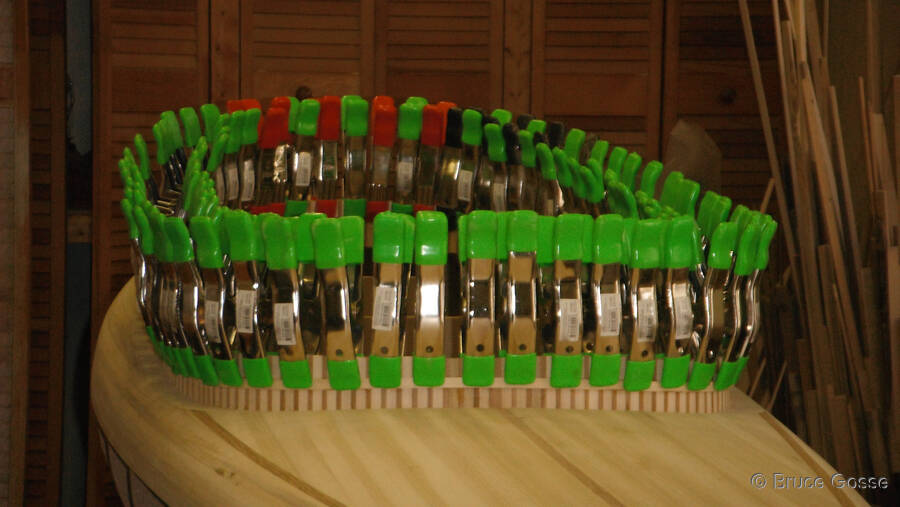
Outer band installed on coaming glued and clamped, needed lots of clamps!
Inside of deck showing cockpit
Inside of deck showing cockpit.
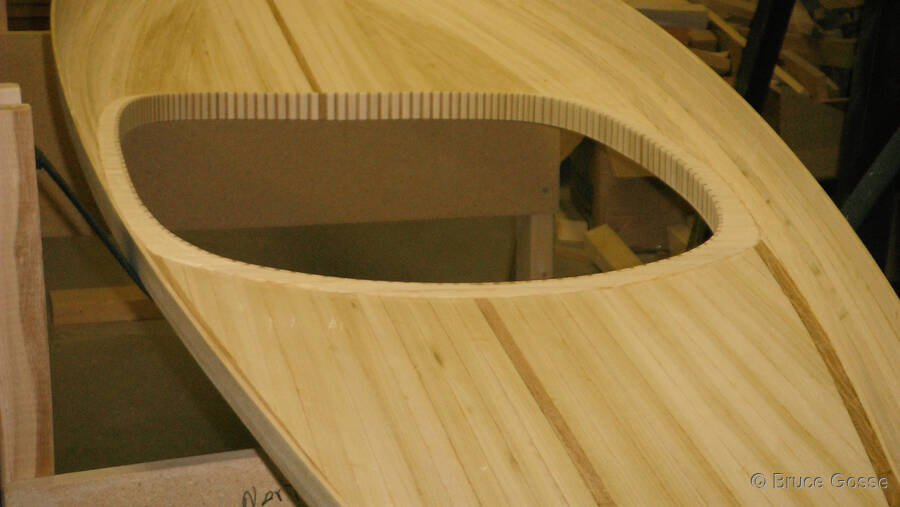
Outside of deck showing cockpit
Outside of deck showing cockpit.
Inside of deck with saturation coat of epoxy
Inside of deck with saturation coat of epoxy. Edge taped to prevent any epoxy getting on edge and causing assembly problems when joining hull and deck.
Bottom inside with epoxy and cloth completed
Bottom inside with epoxy and cloth completed.
Hot glued hull spreaders with tabs sticking up
Hot glued hull spreaders with tabs sticking up for aligning deck.
The Hull is glued together with tape and straps
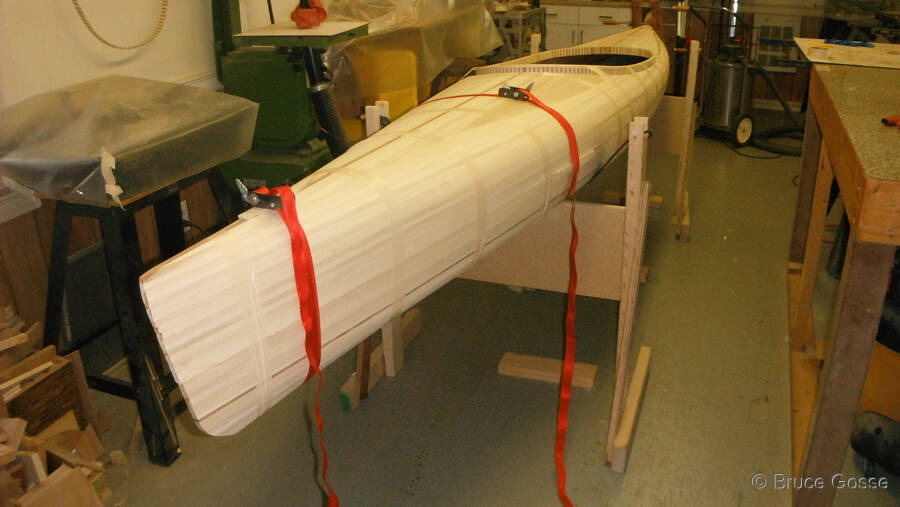
The Hull is glued together with tape and straps to clamp the glue joint.
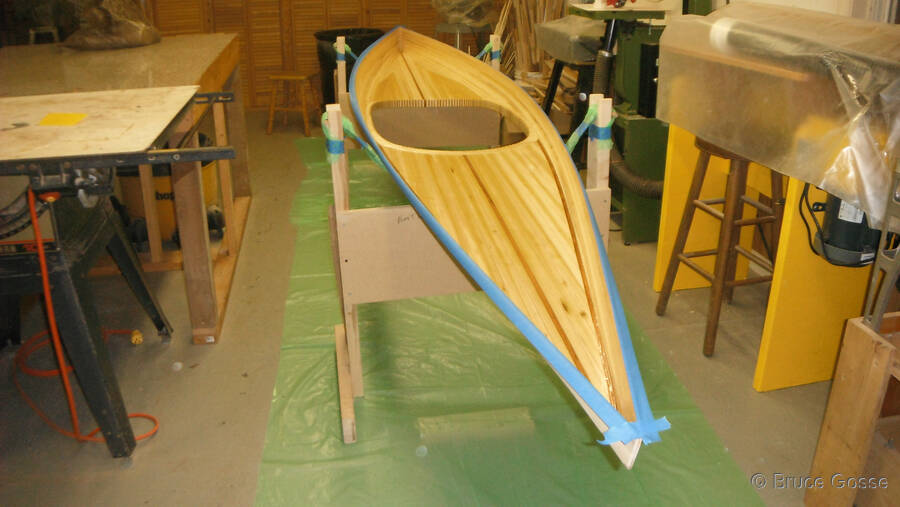
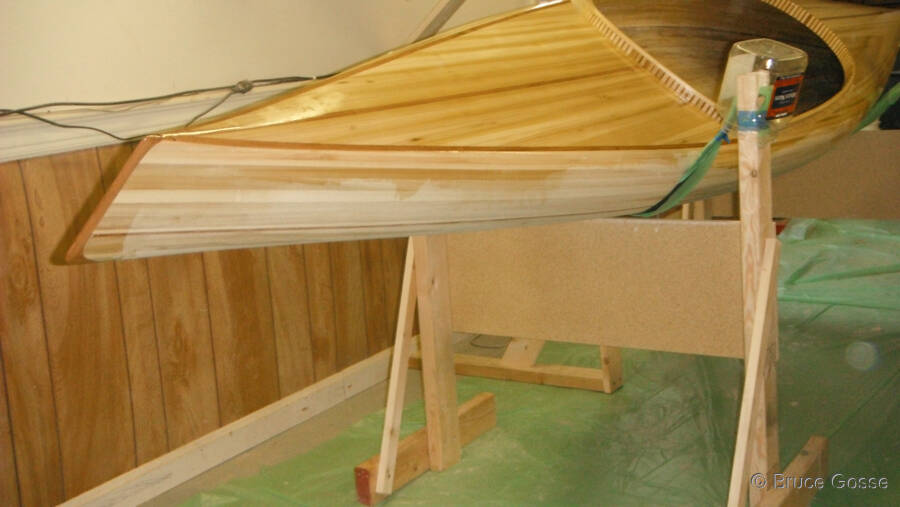
The assembled hull waiting for the external bow and stern pieces
The assembled hull waiting for the external bow and stern pieces to be installed.
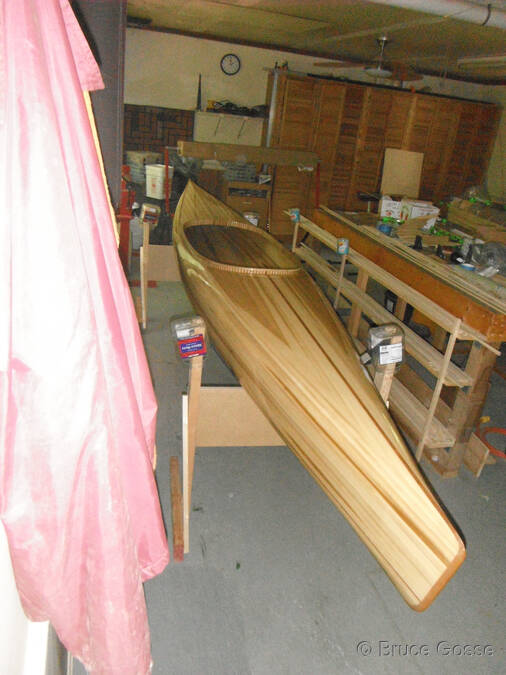
External stem installed
External stem installed on bow.
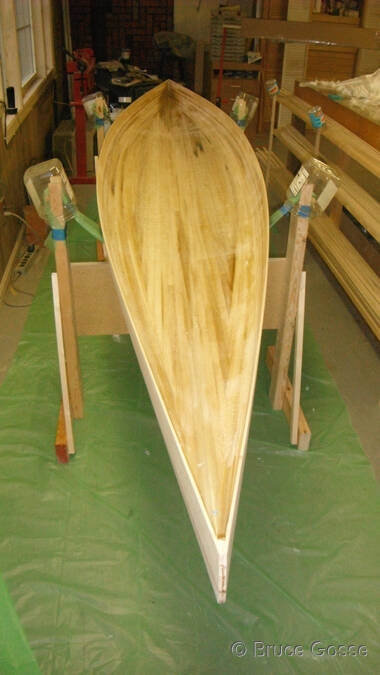
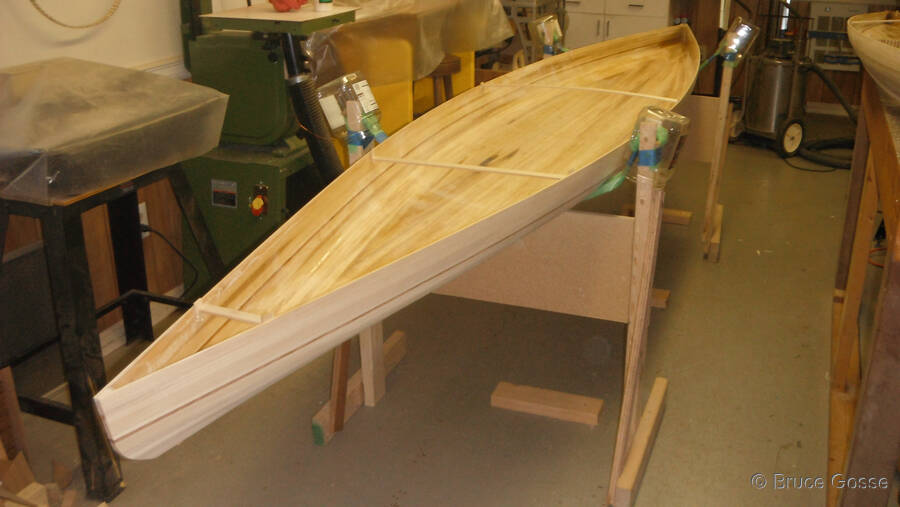
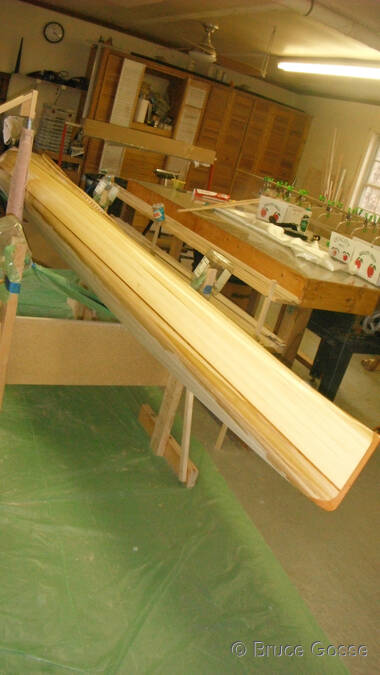
Woodwork completed viewed from bow
Woodwork completed viewed from bow.
Epoxy pre-saturation in progress
Epoxy pre-saturation in progress.
Epoxy pre-saturation in progress
Epoxy pre-saturation in progress.
Epoxy and cloth compete ready for sanding and varnish
Epoxy and cloth compete ready for sanding and varnish.
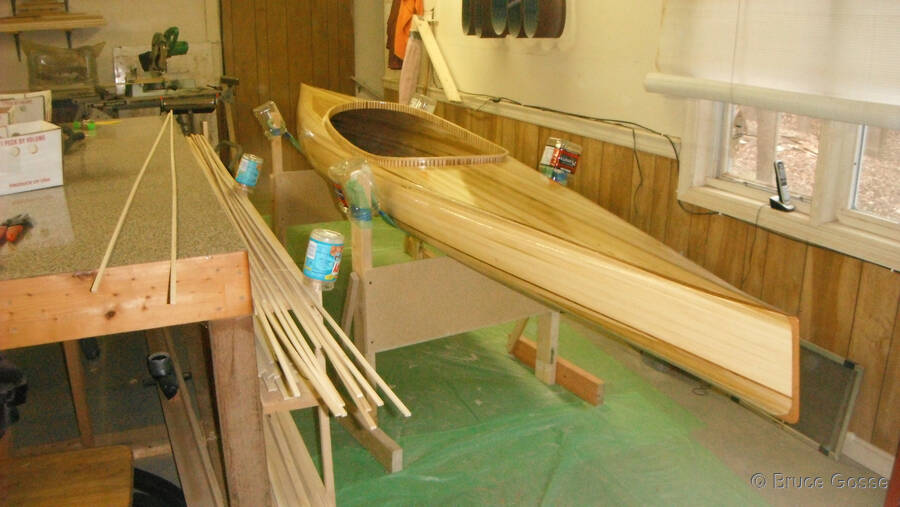
Varnish complete
Varnish complete.
It floats
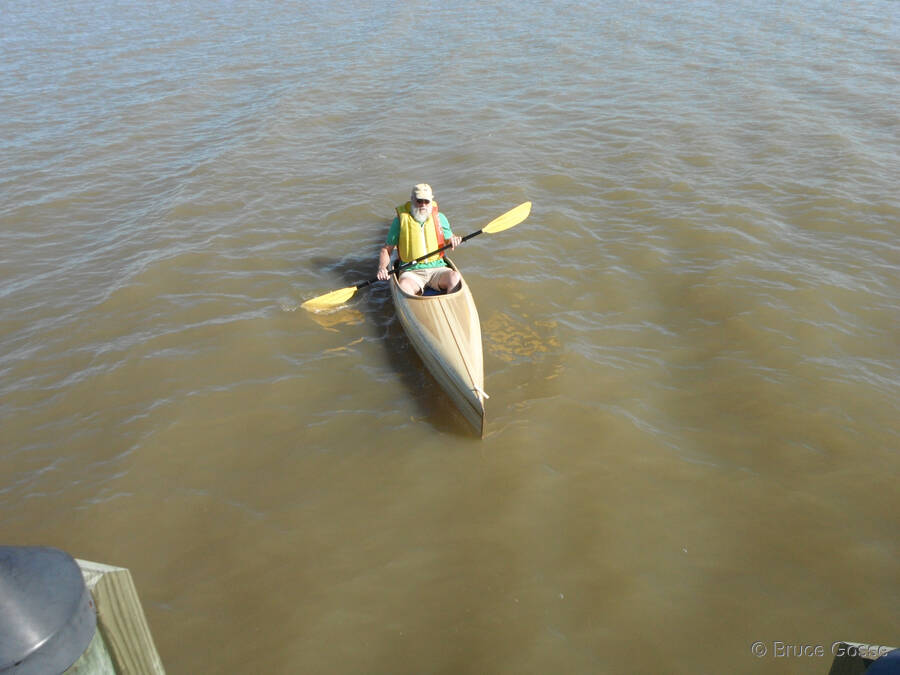
It floats!